When teaching gets stressful, the instinct is to snap into survival mode and keep your head down until the storm passes. However, as we’re experiencing in 2020, sometimes the storm lasts a long time, and it’s hard to prioritize reviewing the basics and refreshing yourself with the tools of the trade. That’s why we’ve compiled this quick, straightforward guide on the strengths and weaknesses of different instructional methods, plus tips for how each strategy might look in a virtual setting.
Didactic
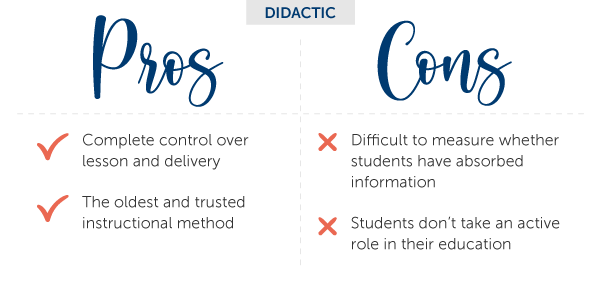
When most people think of teaching, they think of the didactic instructional method. They picture a teacher standing in front of the class speaking while the students remain quiet and passively intake the information. Although this methodology has been popular for literally centuries, and remains so particularly for older and adult students, it has some significant weaknesses when it comes to allowing students to take ownership of their education. Teachers might be able to steer the lesson exactly how they want, but it can be hard to tell whether students are meaningfully absorbing information for the long term.
Didactic Teaching in the Online Classroom
When you need to deliver a lot of information in an online setting, there are several things you can do to keep your lectures engaging and increase students’ retention. Here are a few simple, easy-to-implement tips for upping your didactic teaching game in an online setting:
- Record your lectures instead of streaming them (if possible). Sometimes you don’t have time to record a lecture, or your school or district stipulates you must be live in the classroom at all times. However, if you’re able to, recording lectures has numerous benefits for you and your students. It gives you a chance to make sure you hit all the points you want to make without fear of interruptions or technology issues, and it allows your students to replay lectures at a later time for review or in case of technical difficulties.
- Show your face. Even when you’re using slides or other online tools, it’s important for students to see your face as you speak. Research shows that videos and presentations are more effective when students are able to see and connect with you.
- Keep lectures short. Students are more likely to focus and stay engaged with shorter lectures. Even when you have an hour’s worth of material, it’s better for retention (and downloading speeds, if you’re recording) if you break up the content into short, 15-minute segments.
- Provide guided questions or interactive self-assessments. Whether or not your lecture’s prerecorded, it’s helpful to add interactive elements. If you have spots in your lecture where students would benefit from reflecting on the content, you can pause and ask them to fill out a guided question worksheet before continuing. Some learning management systems also let you embed quiz questions into your videos or presentations.
Modeling
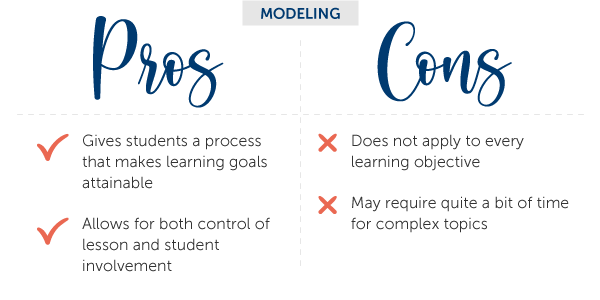
Modeling involves giving students examples and demonstrating the skills you want them to learn. For example, instead of only giving students directions out loud, you might act them out first or break them down into simple steps that you write on the board. Or if you assign students to write a paper or create a project, you might give them examples of what a successful assignment looks like. For more complicated concepts, you might model how to make thinking “visible” by talking through your own thought processes for how you arrived at an understanding or certain conclusion.
Modeling might involve a combination of visual, auditory, kinesthetic, and tactile illustrations to help students understand key concepts. This instructional method can be time consuming, but it helps make critical thinking processes more tangible for students and encourages them to explore different techniques to reach an outcome.
Modeling in the Online Classroom
Thanks to the power of video and file sharing, you can use many of the same modeling techniques in a virtual setting as you do in an in-person setting. Online also offers opportunities to create detailed and interactive tutorials with apps like iorad.
Online education pro Dr. Catlin Tucker also recommends practicing “I Do, We Do, You Do” while you’re videoconferencing with students. For example, you might start by demonstrating how to sound out a word or solve a math problem (“I do”), and then do another example as a class (“we do”). Finally, give students time during the live call to try the skill themselves (“you do”); that way, they can practice while still having access to you if they run into problems.
Interactive (or Indirect)
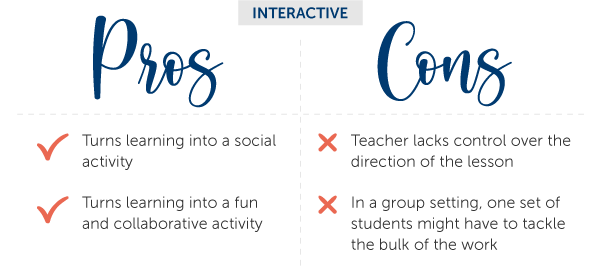
In an interactive (or indirect) lesson, teachers provide a loose strategy or structure, but ultimately, students are responsible for working together to understand the content. Teachers act as organizers and facilitators, but they do not control the direction of the lesson. Instead, students exercise leadership and SEL skills to work in groups to investigate, try different methods, and ask questions until they master the material.
Interactive Teaching in the Online Classroom
Getting students to interact and collaborate meaningfully in an online space can be challenging. Even video chats don’t allow students to see nonverbal cues or pass papers and supplies to each other. However, there are several apps that can help facilitate group work and problem solving. Here are a few digital collaboration tools from TeachThought and Wabisabi Learning:
- GoBoard: GoBoard combines videoconferencing with an interactive canvas to allow students to collaborate effortlessly on any topic. This app is great for math, science, and other subjects that involve graphs and images.
- Padlet: Padlet allows students to share and comment on all different types of resources (videos, articles, etc.). You can use this tool to help students peer-review each other’s work or create a portfolio of their work.
- Twiddla: Twiddla is great for collaborative writing assignments, as it allows students to share and annotate research they find online.
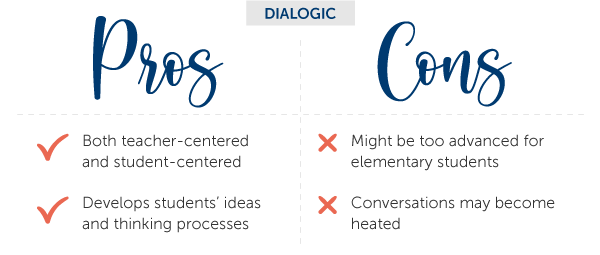
Dialogic
Dialogic teaching emphasizes the importance of a continuous dialogue between teachers and students. Instead of teachers merely presenting content, they ask questions frequently and invite students to speak for extended periods of time to work out their understanding in real time. With this technique, teachers can introduce and help students use subject-specific vocabulary correctly, and students have an opportunity to test their own understanding as they try to articulate their viewpoints on the content. This instructional method might work best with older students, and teachers should be careful to put good structures in place when discussing controversial topics.
Dialogic Teaching in the Online Classroom
Getting students to talk in an online environment can sometimes be more challenging than in person. Students might be self-conscious to talk on camera or feel disconnected from the rest of the class. Here are some tips for encouraging active participation from Manhattan Prep:
- Break the ice with small talk and games. Log in to class early with your camera on, and make sure your students begin with cameras on too. Greet and chat with students as they log on to make them feel more comfortable, and if you have time, ask simple icebreaker questions about things you might see in the background of their camera (e.g., pets, pictures, collectibles).
- Don’t be afraid to call on students. Open-ended questions don’t always work well in an online environment and can lead to awkward silences. To remedy this, don’t be afraid to call on students to speak—and if you can find a creative way to do it, so much the better. For example, in this short video PE teacher Matt Dochniak shares the benefits of using an online spinning wheel to choose whose turn it is to share their work.
- Use the chat function to spark discussion. Sometimes students need a moment to collect their thoughts or are too shy to speak aloud without prompting. To ease them into the conversation, encourage students to type a response in the chat feature, and then call on students to elaborate out loud. You can also use this technique to help students start interacting with each other. For example, when one student finishes speaking, you might ask another to build on the first student’s thoughts (e.g., “Natasha, you mentioned something similar in the chat. What do you think about what Oliver just said?”).